SSH keys on Windows 10

Enable the SSH server in Windows
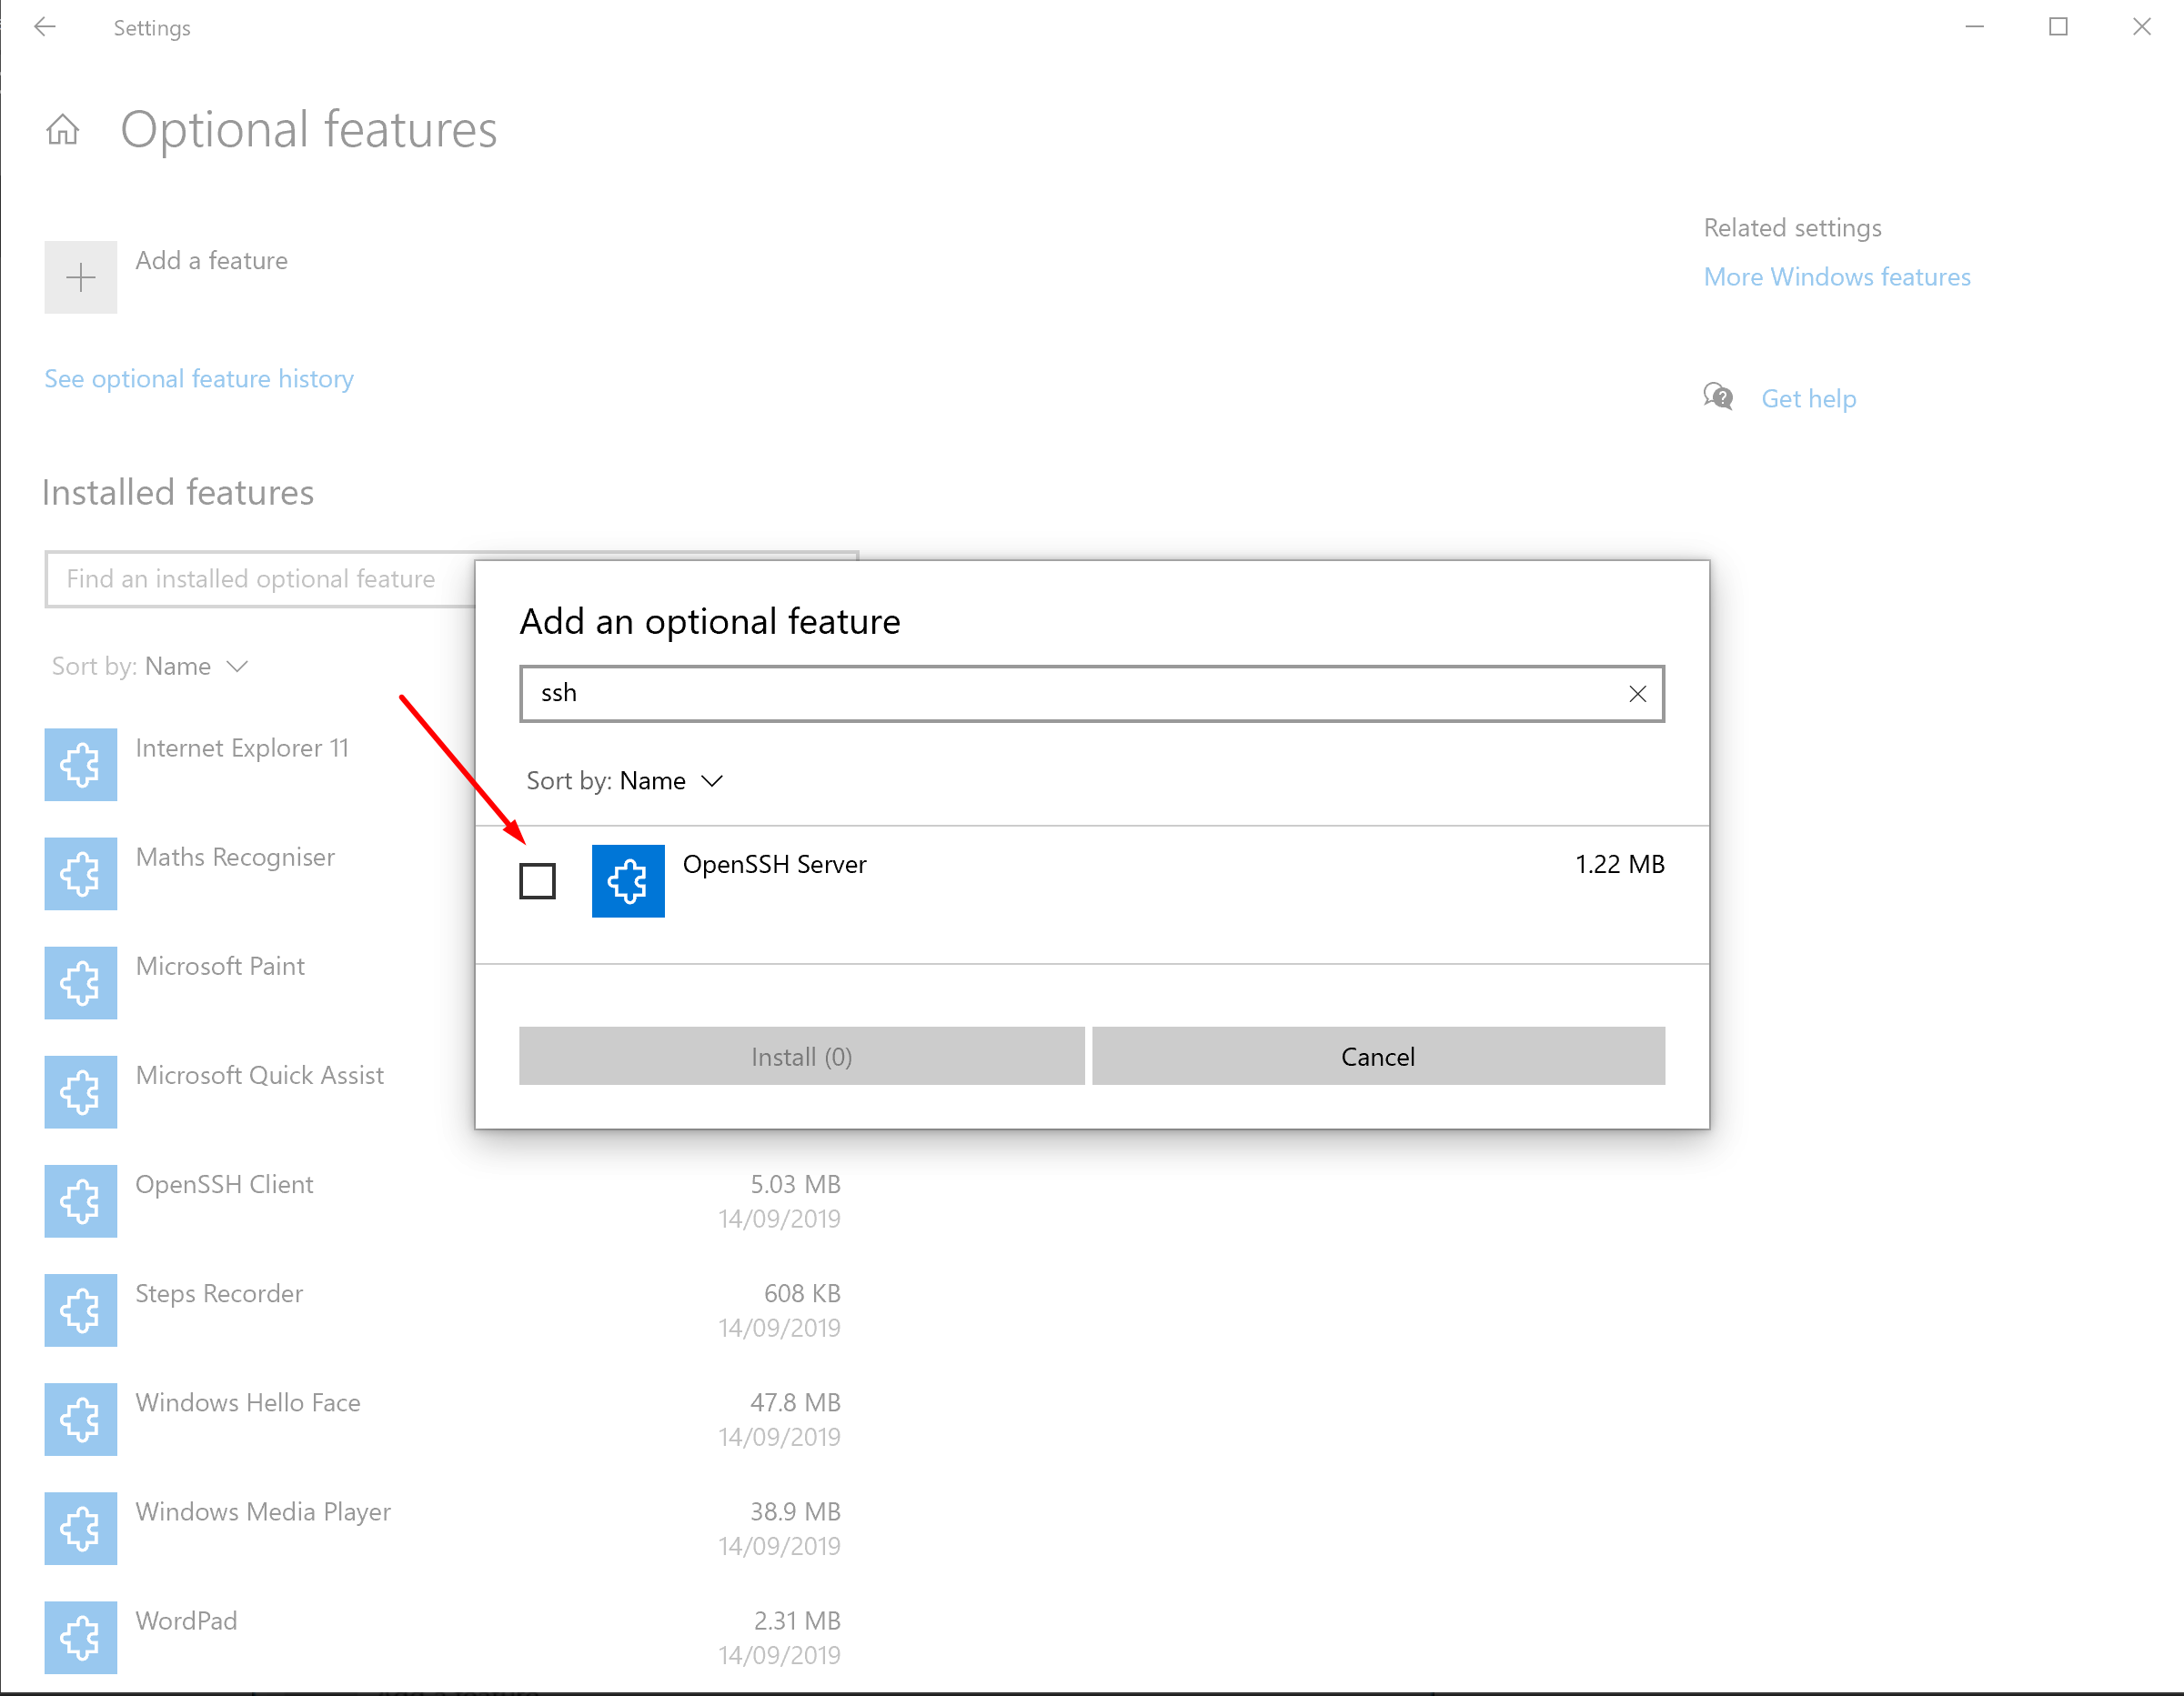
You need to add the optional feature 'OpenSSH Server' in Windows 10 first by going to Settings -> search for Add an optional feature -> search again for OpenSSH Client and choose to install.
Configure SSH service to automatically start
By default Windows won't start the ssh-agent. You can tell Windows to start the service automatically in the future by running the following command in PowerShell (as Administrator).
Get-Service ssh-agent | Set-Service -StartupType Automatic -PassThru | Start-Service
But right now, manually start the service by running
start-ssh-agent.cmd
Generate the key
Open PowerShell and follow these commands to generate SSH key on your machine.
ssh-keygen
Keep the default location for where to save the key. This should be C:\Users\<username>/.ssh/id_rsa.
Generate a complex password and store it in a safe place, ideally a password manager. Enter this password when prompted. When complete you'll be shown the key fingerprint and the key's randomart image.
Add key to the SSH Agent
We need to add the key to our ssh-agent so we don't have to type the key each time we use it.
The agent will recognise that a new key is present and will ask for the passphrase.

Once entered, you'll see the confirmation message Identity added.
I still needed to add the key to the ssh-agent manually. To do so, navigate to the .ssh folder where we stored our keys earlier C:\Users\<username>/.ssh/ and run the following with the correct key name.
ssh-add .\<private-key>
This will prompt you to enter the passphrase in, and once again, you should see the Identity added confirmation.

Access your public key
Now that we have our key, we can add it to systems like GitHub or Bitbucket. To do so, follow the instructions for that particular service. We'll need to retrieve the public key from our machine to do so.
Navigate to the .ssh folder and find the file <private-key>.pub. Open this in a text editor. The contents of this file are what you need to copy and paste into the relevant service you're wanting to add the key to.
Testing the keys
In this example, let’s assume we've added our key to Bitbucket. We can test that the key is correctly set up by running the following command.
ssh -T git@bitbucket.org
If all is well, then we should see the logged in as message without needing to enter the passphrase
Using with Git
By now we have our key correctly stored in the SSH agent and we're allowed to connect to the Bitbucket servers using SSH. However we might still be prompted to enter our passphrase whenever we try to perform a git command that talks to the remote.
The ssh -T command uses the Windows 10 agent so all appears to be correct, but it won't behave the same in Git. This is due to the fact Git is using it's own ssh agent, not the Windows 10 agent that we've added our keys to.
We need to tell Git to use the Windows SSH agent instead of its own. We do this by updating the git config.
git config --global core.sshCommand C:/Windows/System32/OpenSSH/ssh.exe
Now, when we use Git, we won't be prompted for our passphrase, even after a restart.
References
https://confluence.atlassian.com/bitbucket/set-up-an-ssh-key-728138079.html
https://github.com/dahlbyk/posh-git/issues/640#issuecomment-435515055