Using Umbraco Models Builder API in Visual Studio

If you're working with an Umbraco site using Visual Studio you will more than likely benefit from using the API version of Umbraco's Model Builder.
The API mode allows the generated models to be included in the project, shared easily with other developers via source control, and referenced by other projects in your solution. There are other modes of Umbraco Models Builder, which I won’t go into here. See the Umbraco Documentation for more details.
Enable ModelsBuilder
Within the web.config there are two ModelsBuilder app settings. These need to be set to the following:
<add key="Umbraco.ModelsBuilder.Enable" value="true" />
<add key="Umbraco.ModelsBuilder.ModelsMode" value="Nothing" />
The Enable is self-explanatory, and setting the ModelsMode to Nothing means that there will not be an option to generate the models within the Umbraco Developer tab. As we're going to be generating the models through the ModelsBuilder API and including the generated models directly into our source code, there is no need to generate the models via Umbraco any more. Setting the ModelsMode to Nothing removes the option and removes any confusion.
Install package
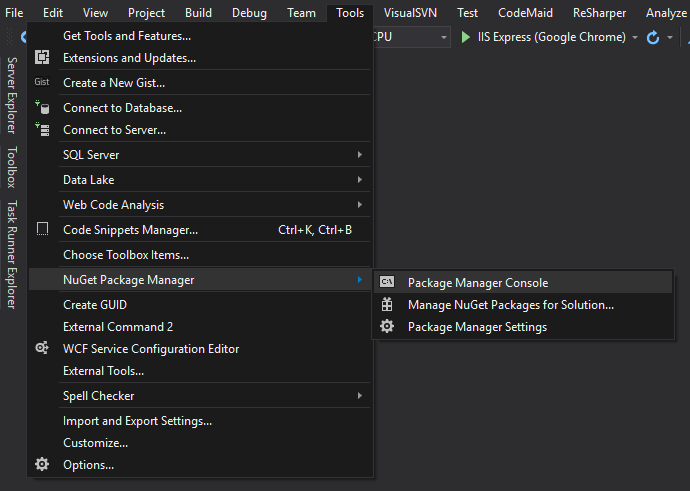
We need to install a NuGet package in order to use the ModelsBuilder API. In Visual Studio, open the Package Manager Console. This can be found in Tools -> NuGet Package Manager -> Package Manager Console.
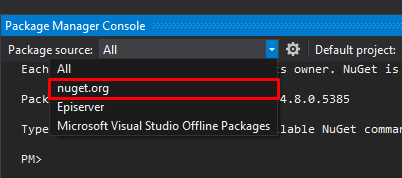
You will need to select your default project for your Umbraco web project and may need to choose nuget.org as your package source instead of All.
Then you're set to run the following command to install the package.
Install-Package Umbraco.ModelsBuilder.Api
Install Visual Studio extension
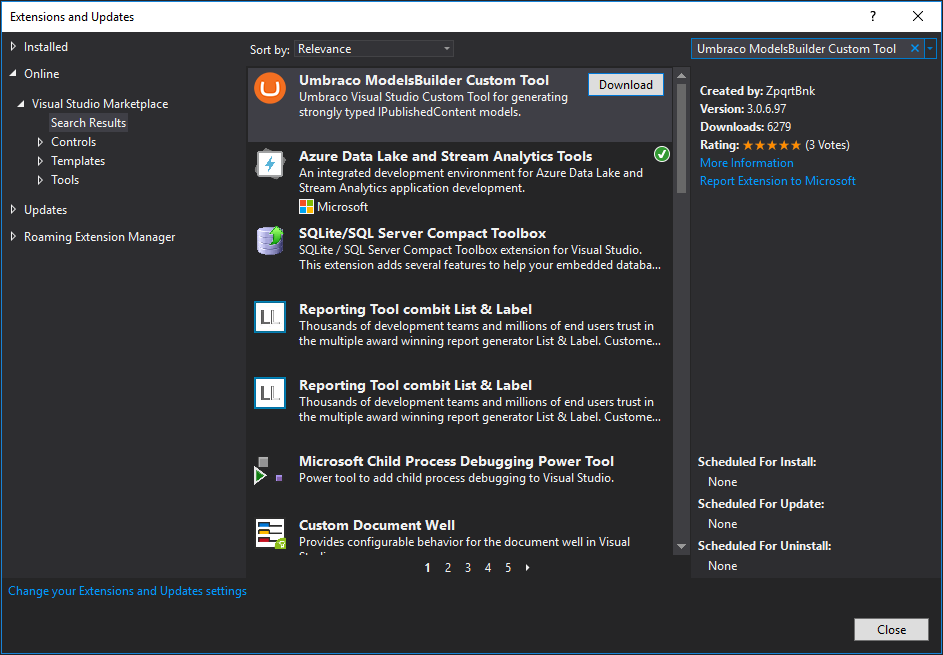
With the Umbraco.ModelsBuilder.Api package installed, we’re now able to call the Umbraco API that will provide the details of the Models to be generated, but we need a tool that will actually generate these models for us. In steps the Umbraco ModelsBuilder Custom Tool extension by ZpqrtBnk, the source of which can be found on GitHub.
You can either install the extension using the link above or through Visual Studio, Tools -> Extensions and Updates...
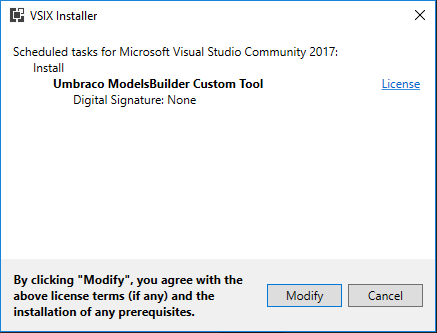
You will need to close all instances of Visual Studio to trigger the actual installation of the extension.
Configuring the extension
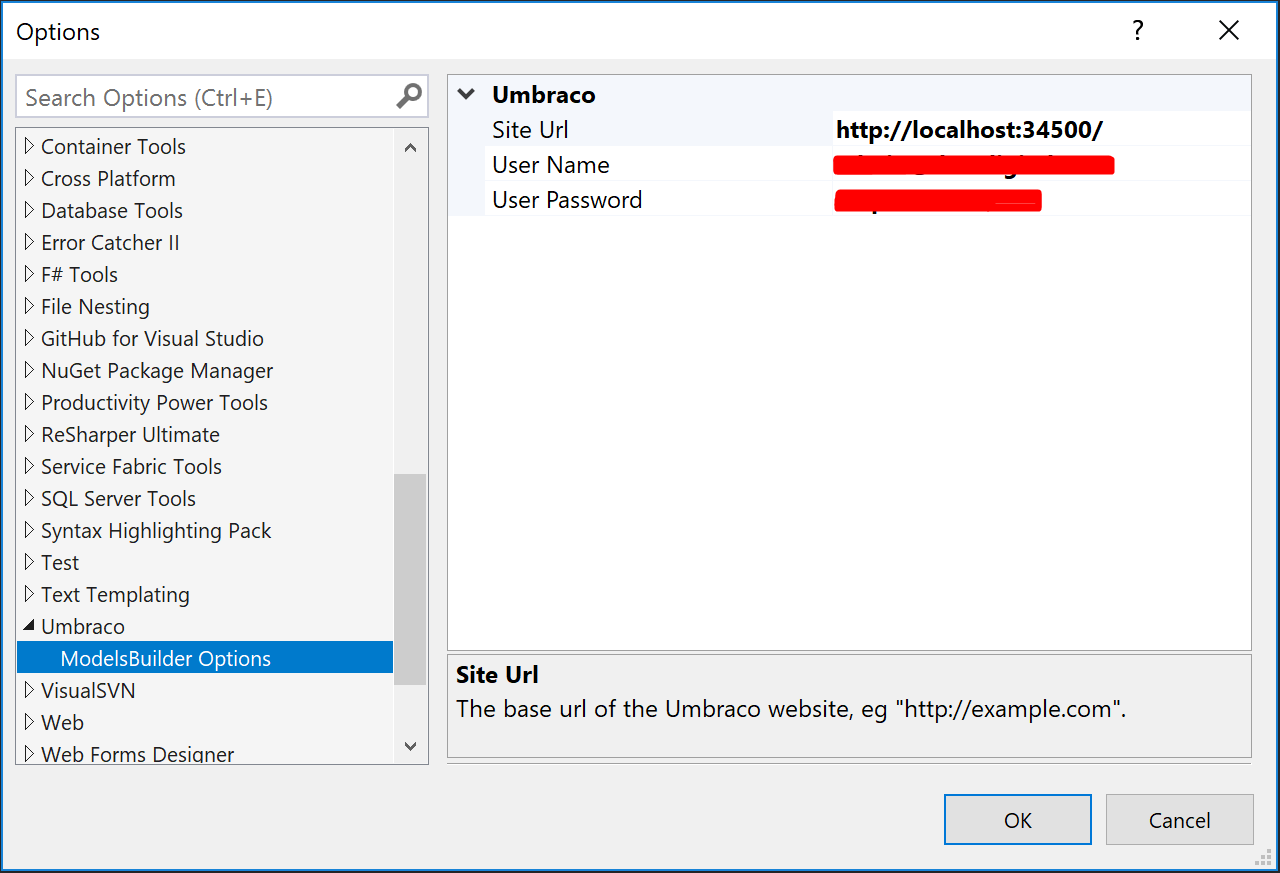
Now, if we navigate to Tools -> Options and scroll down, we'll see we have an Umbraco option with three fields. We need to populate these to tell the extension how to call the Umbraco ModelsBuilder API so it can generate the models.
Site Url This needs to be the url of the Umbraco site we're going to generate our Models for. Usually, in development, this would be localhost or whatever url you're using.
User Name This is the admin Umbraco username used to log in.
User Password This is the admin Umbraco password used to log in.
Add and configure ModelsBuilder class
As we are going to generate the Models directly in our code, we need to add a class that will trigger the build and somewhere to store the generated model classes.
This class can be named anything and placed wherever makes sense for your particular project. For this example we've created a ModelsBuilder.cs class in a Models folder within the Umbraco web project.

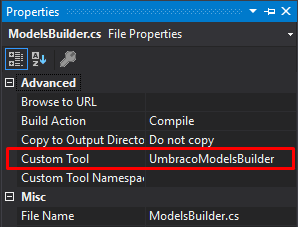
Now, we need to configure this class to use the Umbraco ModelsBuilder Custom Tool extension and trigger the generation of the Models. To do so, right-click the ModelsBuilder.cs and select Properties (or Alt-Enter as a shortcut).
Within the Custom Tool field type in 'UmbracoModelsBuilder'.
Trigger the ModelsBuilder
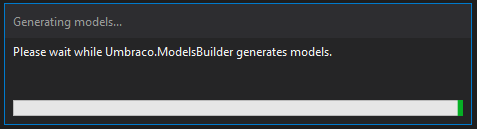
Now we've installed and configured everything we can actually generate the models. This is done by right-clicking on the ModelsBuilder.cs file and selecting Run Custom Tool. This will tell the extension to contact the Umbraco site's ModelsBuilder API and generate the models for us as CS files.
NB: If the website is localhost or similar you will need to have the project running
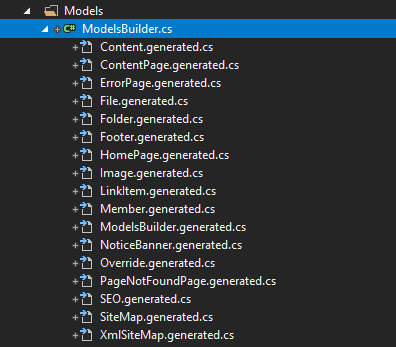
This process should only take a few moments, and upon completion, we can see our generated models nested below ModelsBuilder.cs.
These generated classes should also be included into source control so that others on your team have access without having to go through all the above steps. Any time the models change in the future they only need to be generated once and not by each developer every time.
Referencing the generated models
You can reference these models in your code as you would with any other class. You can check the namespace by viewing one of the generated models but it will be something along the lines of MyWebsite.Models.GeneratedModel where MyWebsite is your web project name and GeneratedModel is the name of model you're wanting to reference (if you created these models in your web project).
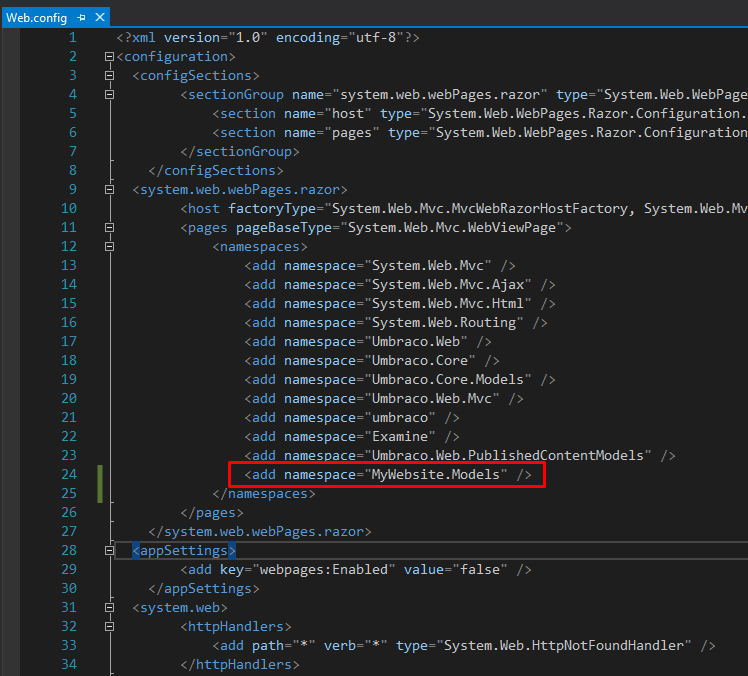
I also like to add the generated models namespace to our Views web.config so that we can reference the models anywhere in our views without needing to state the full namespace each time.
To do so add the following to the namespaces section of the views web.config located in the root of the Views folder. Again, replace MyWebsite with your correct web project reference.
<add namespace="MyWebsite.Models" />
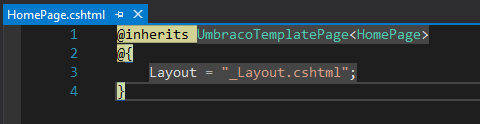
With this added, you can now reference any of the generated models directly in the view.
You are now all set with the ModelsBuilder API and no longer have to generate these models within Umbraco which can cause all sorts of problems when you reference these models in compiled code.
Happy model building!